

Pelican BX90R Gas Strut Install
They say the hardest thing to do is start something new. This is true to a certain extent, but this has been both inspiring and a learning experience. This marks the first youtube video that I have posted and intend on posting at least one video every two weeks for the next year. I have always found it exciting to teach others how to complete certain tasks. Combine that with my passion for solving problems and you have my attention. With both of those boxes checked for the topic of this video we enter the issue with the Pelican Cargo Case line…
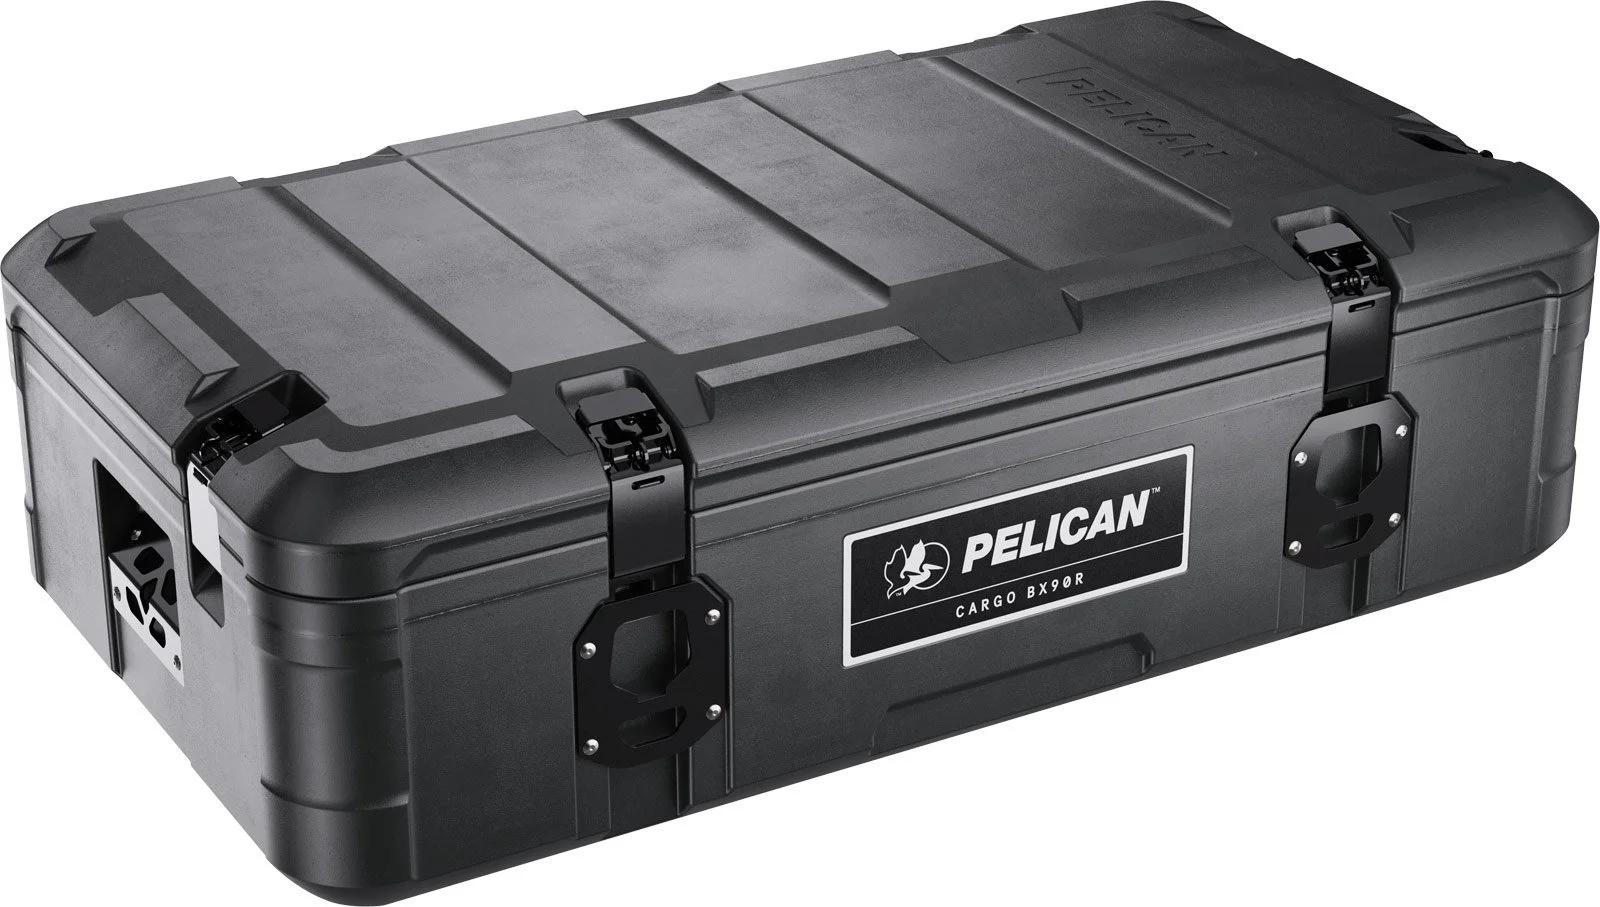
Pelican BX90R
Interior: 32.4 × 15.0 × 8.8"
Exterior: 36.6 × 20.0 × 11.5"
MSRP: $369.95
Don’t get me wrong, I love Pelican and its products. My biggest issue is how expensive their products are compared to the features they offer. The Cargo Case is expensive when it comes to externally mounted cases ($260 to $500 USD) when compared to other companies and their offerings. This is due to the construction quality, R&D, and product warranties. One thing that is massively important to me is the way a company supports its products. I will have a post later this year on how amazing the support team at Pelican is, but let’s focus on the Cargo Case features. The case is very well designed and specific to the Overlanding industry. It is spacious and sturdy, I have used it to stand and sit on multiple times.
The biggest area of improvement I have seen is the need to have the lid stay open when using the case. I use this case on the roof of my Tacoma. It’s at a height where I can see into the case, but depending on how the truck is parked when camping it can require two hands to get items out of the case. One to hold the lid and one to get the item. This made the cases annoying to use the first couple of times and having seen other case companies include gas struts with their cases, I knew it could be done.
The guide above will help you add gas struts to your BX90R cases. This process can also be applied to other cases but will require some modifications to the outlined process in the video. Pelican did indicate that they are looking to release a package to help do this same exact setup to the existing case lineup, but this may be a cheaper route to do so. There are a couple parts you will need:
Parts List
10 Lb/45N 16in Gass Struts (x2)
Amazon Link: https://amzn.to/3bZRVKP
10mm Ball-Stud Low Profile Gas Strut Angled Supports
Amazon Link: https://amzn.to/3bYcaZo
10mm Ball-Stud Low Profile Gas Strut Circular Supports
Amazon Link: https://amzn.to/3c3Hbee
The included screws with the mounting brackets
Tools
Electric drill
Phillips #2 Screw Driver
Small Speed Square
5/64 Drill Bit
With a bit of patience and by following this guide it can be done for what I guess will be a fraction of the cost with basic hand tools that most of us already have. If you have any questions let me know. I might (hint) be planning another variation of this type of case modification in the near future with a different case line. But for now happy modding! Cheers!

Installed cases on the Tacoma